Fast and simple DIY reclaimed barnwood shelves – functional & rustic. Give your home a vintage feel, install these versatile shelves inexpensively.
These DIY Reclaimed Barnwood Shelves are completely functional AND rustic-looking. If you are a fan of the vintage look, you know EXACLTY what I’m talking about. No matter how hard we try, we can only ever seem to get one side of the spectrum… we can either buy furniture that looks like a plastic version of rustic, making it easy to dust and clean OR we can buy authentic-looking rustic furniture that gives us splinters and stays dusty/dirty (I like vintage, but this is a lot to ask).
Well these shelves have it all, baby! Not only do they look spectacularly old and farm-like, but they also are super easy to clean off with no fear of slivers and snagged dusters. But wait! I’m not done! They’re also insanely easy to whip up and inexpensive to boot. Let me tell you all about how I happened upon this idea!
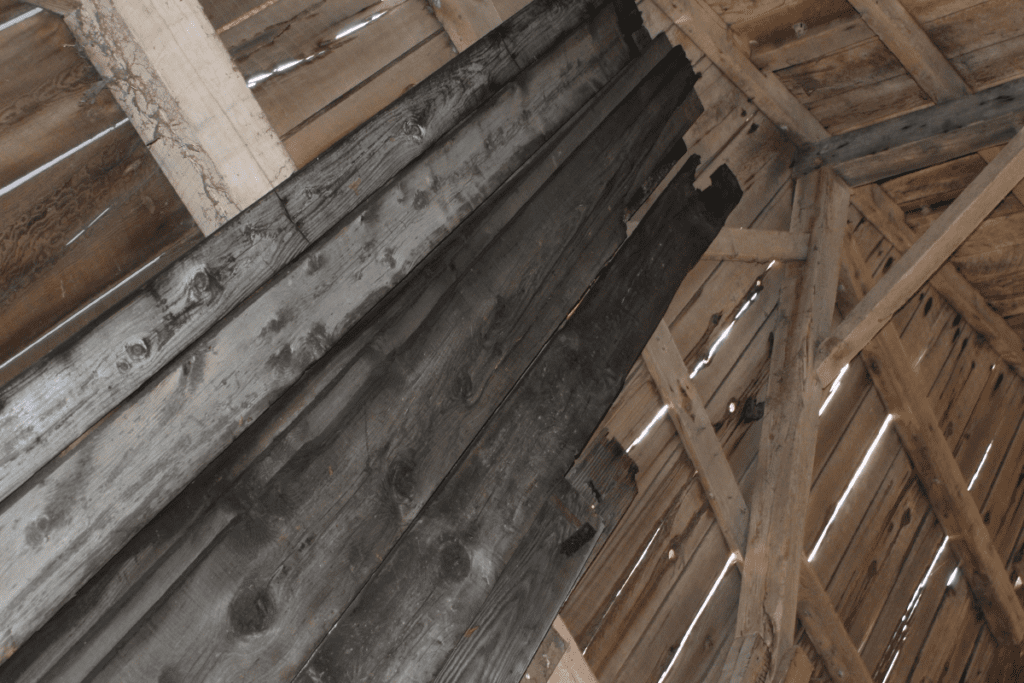
On this large expanse of land, we happen to have one of the original barns that were built in the early 1900s. Some parts of the roof and foundation are falling and crumbling a bit, but we just think it’s so darn cool that we can’t bring ourselves to finish it off. Rather, we attempt at every turn to find areas that we can support and keep it around as long as possible (heroic, right?).
During one of these rescue missions, we gently pulled some of the old weathered wood siding off (this is what the diehards call “reclaimed barnwood.” As usual, the hoarder in me coerced my husband into dragging it all up into my lair in the top of the old bank barn to save for a future project.
Well this obviously paid off. I discovered while organizing my office that I am way too cheap to invest hundreds of dollars on some chincy shelving from a furniture store. Our house is over 100 years old and we already have that rustic vibe going so I decided to create some reclaimed barnwood shelves that would cost a fraction of the price of something new.
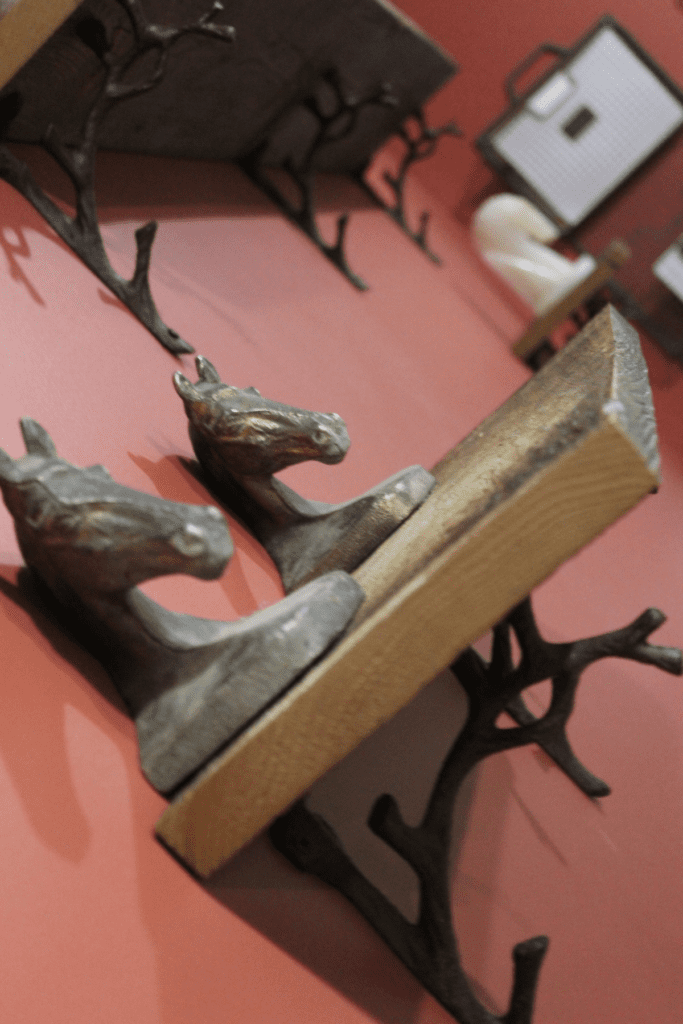
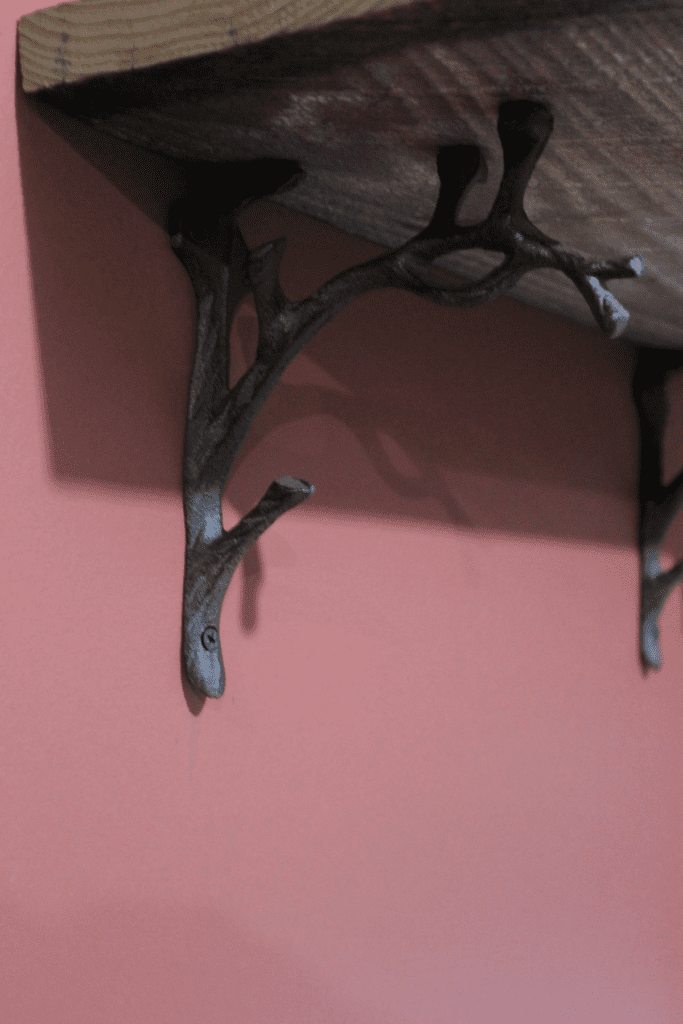
For this project, I decided to buy a few wall brackets that would hold the reclaimed barnwood shelves to the wall. I found these amazing brackets at my local Hobby Lobby. What’s great about this place is that half the store goes on a 50% sale every other week. So these brackets only cost me $4.49 per bracket. They are solid, heavy metal and hold a tremendous amount of weight. Perfect for all of my textbooks, novels, and cookbooks!
Process for Making Reclaimed Barnwood Shelves
Step 1:
I first measured the wall to determine where the studs were so that I would know where to place my brackets. Once I knew where the brackets were going, I then took a measurement to find out how long this would allow me to make my shelves. In my case, my brackets are separated by 16 inches for the 24-inch shelves and the 72-inch shelf has three brackets separated by 30 inches. The ends of the shelves overhang the brackets by no more than 3 inches.
This is a great quick trick to show you how to find studs if you have no clue where to start: How to Find a Stud (Super Simple Trick!) – YouTube
During this stage, you can go ahead and screw your brackets to the wall studs using a screwdriver or screw gun. I would span a level across these brackets in order to maintain a straight shelf. If you only have a very short level, you could just measure the same distance from the floor or ceiling (or both) to determine the exact height for your brackets.
Step 2:
At this point, I meandered out into the barn to find the perfect boards for my new shelves! Low and behold, there they were. Towering in the sunshine-streaming dusty haven of the bank barn. Waiting to be repurposed for their new life in my office. Just longing to hold both old and new books…. Look at all that beautiful reclaimed barnwood….
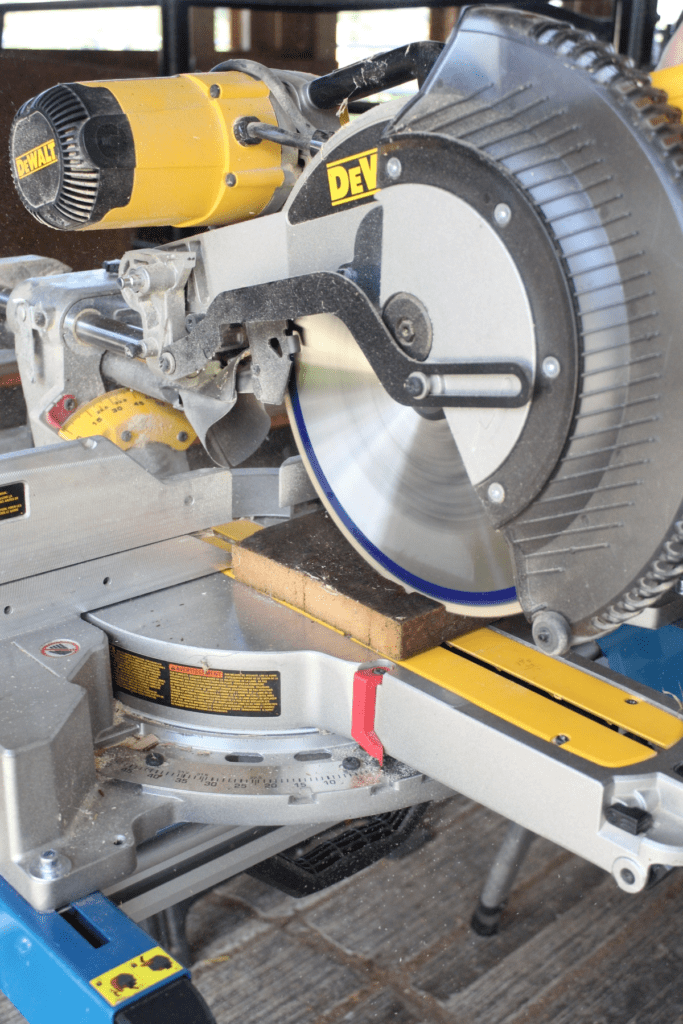
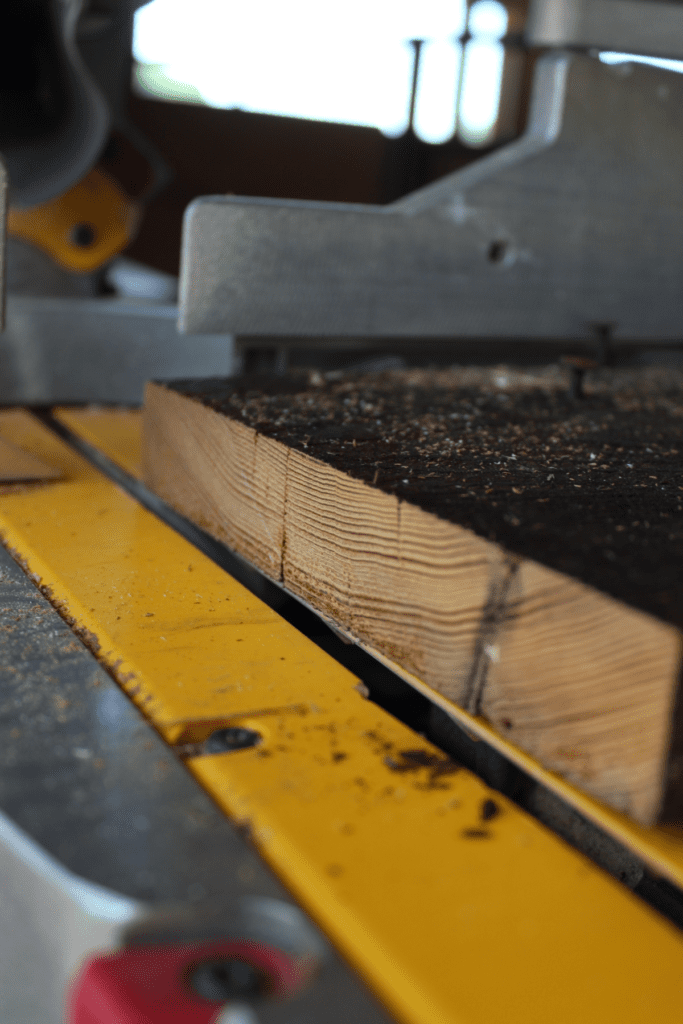
“Come along my dears, I have the perfect job for you!” I told them. And so we made the journey down to the garage and to my chop saw (her name is Betsy)… You can also use a circular saw and a square to cut these if you do not have a Betsy. So now that I know how long I can make my shelves, I trim the hairy broken-up end off of one side, then measure to the correct length and make the cut on the opposite end. In my case, this was 72 inches for the long shelf and 24 inches for the short ones.
Step 3:
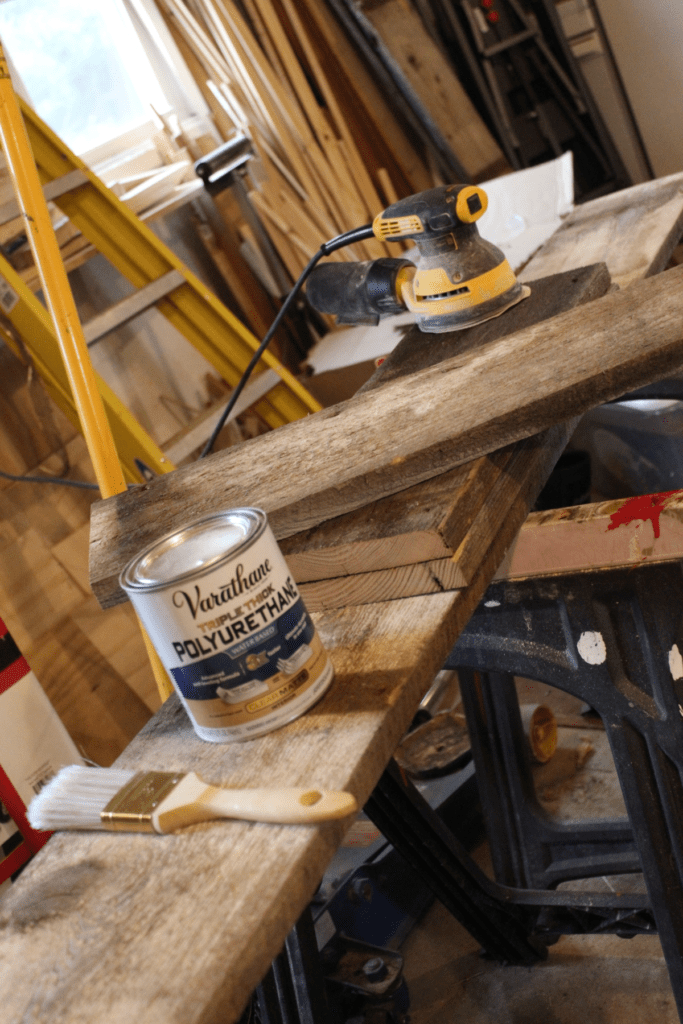
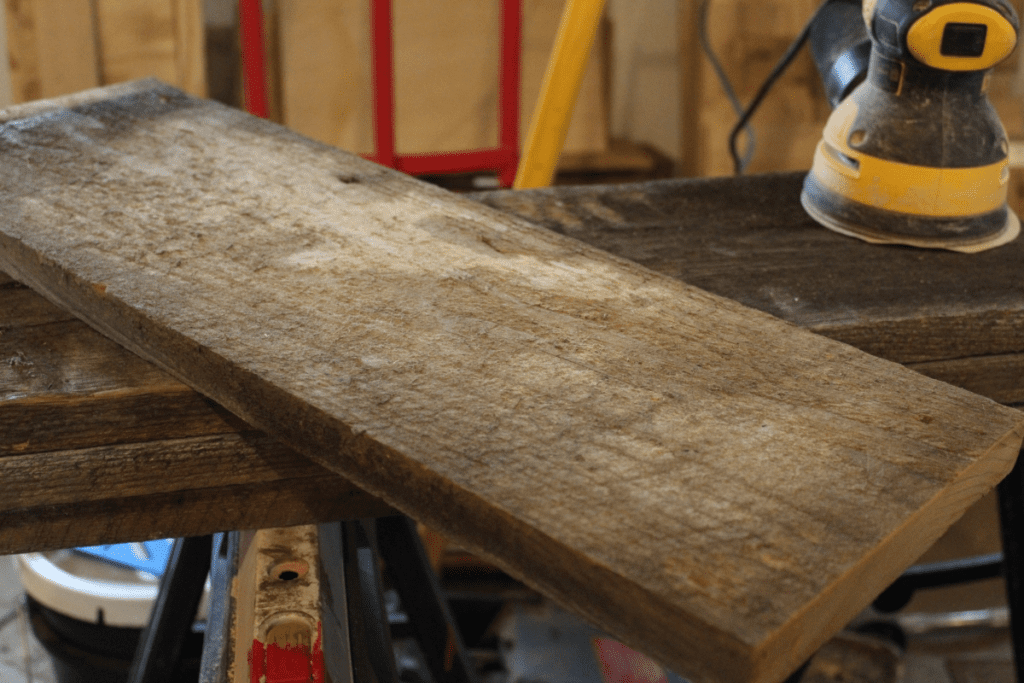
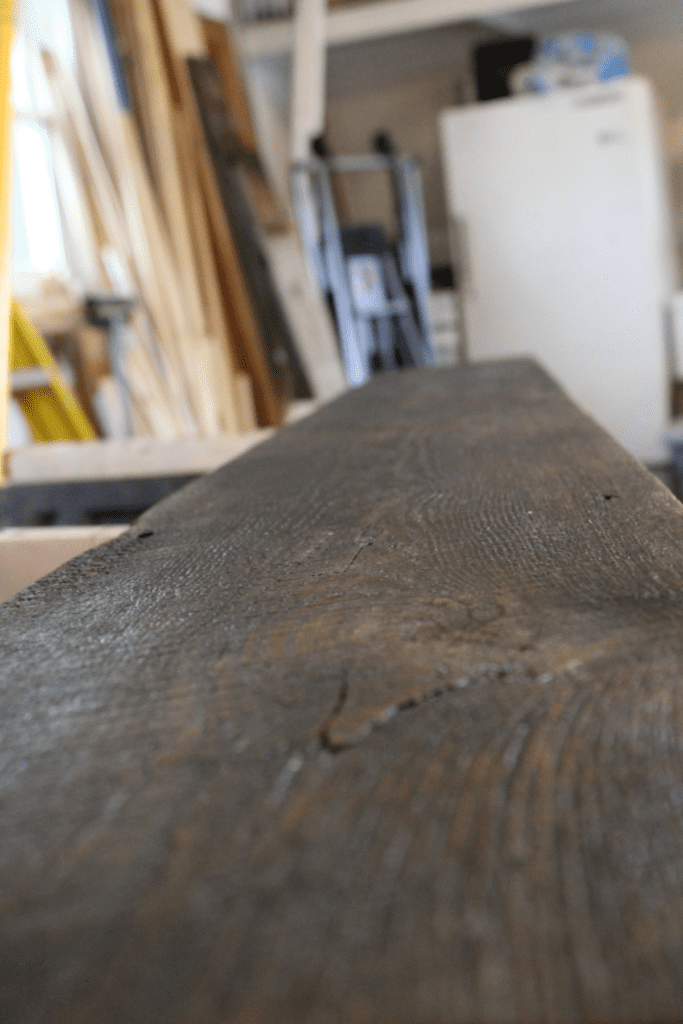
Once my shelves were cut to the correct length, I took my sander (set on the slowest setting) (my sander doesn’t have a name yet…) and really lightly and quickly ran it over the boards (always run the sander/sandpaper WITH the grain of the wood!). I’m positive that you can use just a piece of sandpaper to do this if you do not have an electric sander in your arsenal.
For this project, I would use medium grit paper. Nothing in either extreme. Spend extra time on the cut ends to make sure there are no nasty shards sticking out. Take your time and just make sure there are no jagged edges or any nasty dirt left. The goal is not to sand all of the gorgeous patina off of these! Be careful!
Step 4:
Take a rag or soft brush and just dust the wood off so no particles are left laying on your surfaces.
Step 5:
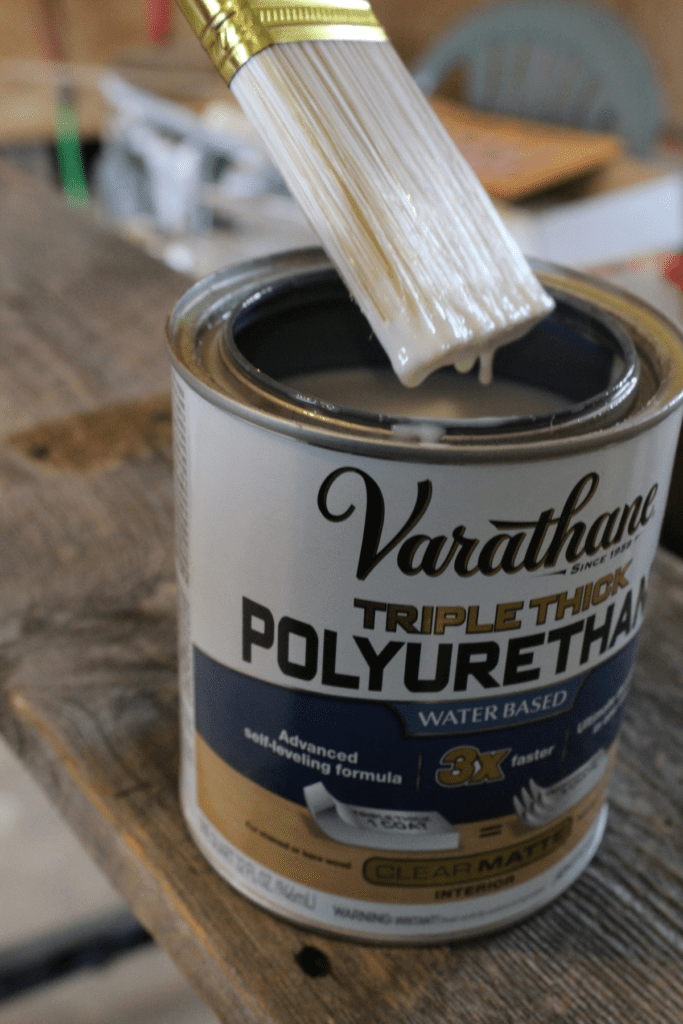
Grab a can of water-based polyurethane and a paintbrush! This triple-thick Varathane I used goes on really well and sometimes does not even require a second coat, but you should always follow your particular product’s instructions! Make sure you get in all the cracks and crevices but keep an eagle eye out for runs! Noone likes the runs… no matter where they come from… NO RUNNY, NO FUNNY!
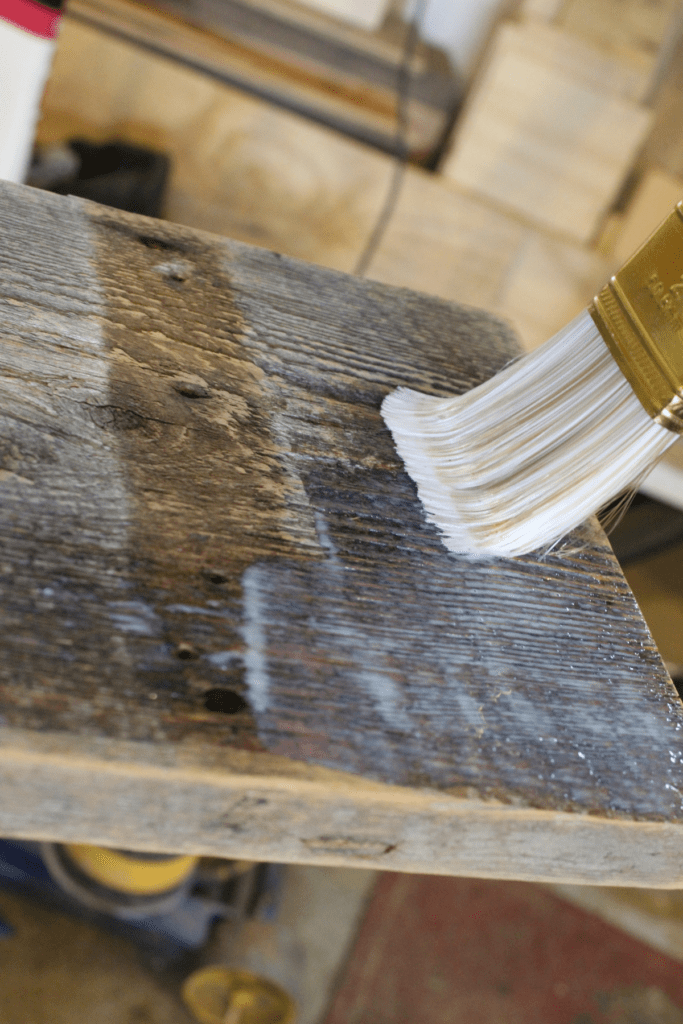
I like to choose which side of the board I want to be the top and the bottom. The first side I paint is the bottom and the edges. This way, when I flip the board to paint the top the next day, it takes less time and I can make sure the top is perfect. If you end up with a run somewhere visual, just take a piece of sandpaper or steel wool and rub it out before applying the sealer to the top side.
Step 6:
Once the sealer is dry (usually the next day) bring those bad boys inside and just lay them on your brackets! My brackets have these great screw holes in the top portion so you can screw the actual shelf to the bracket just to make sure everything is snug as a bug in a rug. I recommend doing this so no one accidentally yanks the whole kit and kaboodle down on themselves. Don’t want that.
Step 7:
Load those puppies up with whatever ya got! Whether that may be books (like me) or fancy display items that are sure to wow your friends and family…. But obviously not as much as your new vintage-looking reclaimed barnwood shelves will!
Cheers!